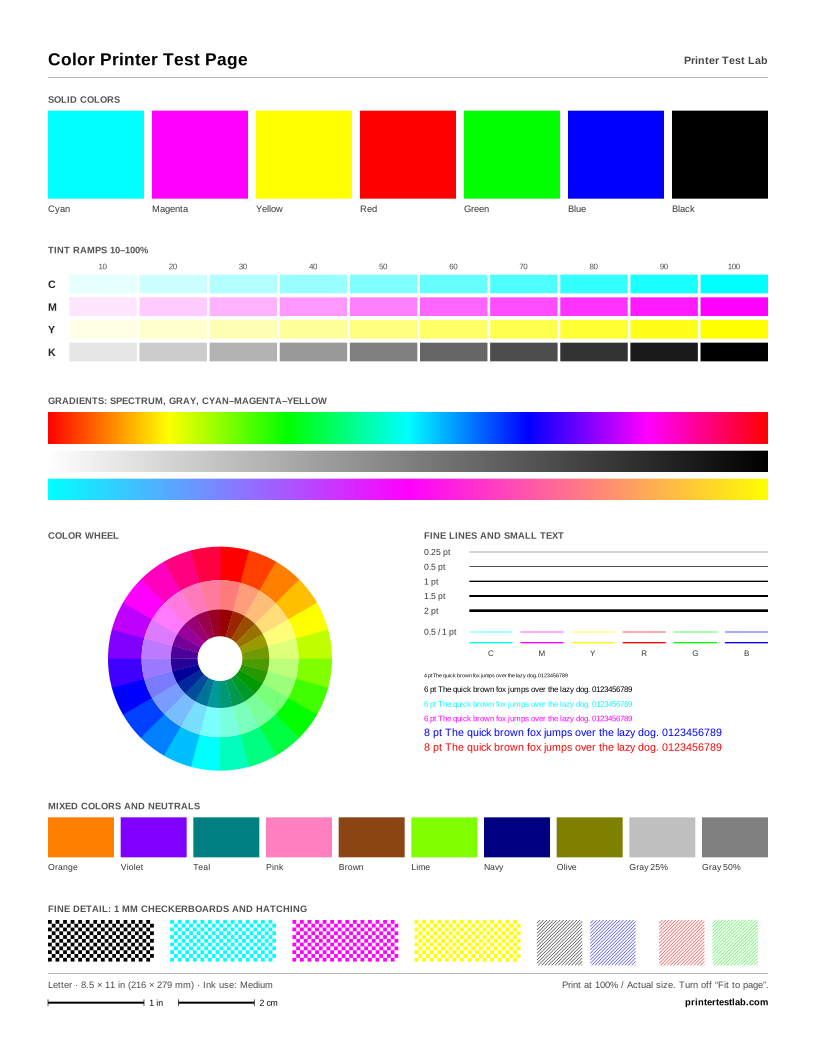
The Windows printer test page is a simple printout that the printer driver on your PC sends to the printer. If it comes out, Windows, the driver and the connection are working together. It doesn’t tell you much about print quality, which is why this guide also shows you how to check that with a full test sheet from the tool above.
What the Windows test page shows
The page Windows prints is mostly text. It confirms that the test was sent from your computer and lists technical details about the printer and its driver, such as the printer name, the driver and the port it uses. Support staff often ask for it, because it proves the whole chain works: the app-free path from Windows, through the driver and the connection, to the printer.
What it doesn’t do is test the inks properly. A small logo or color block is not enough to spot banding, a weak color or blurry small text. For that, print the color printer test page or the black and white test page after the Windows page.
Print a test page in Windows 11
- Select Start, then Settings.
- Select Bluetooth & devices, then Printers & scanners.
- Select your printer in the list.
- Select Printer properties.
- On the General tab, select Print Test Page.
These are the steps in Microsoft’s own guide (Microsoft Support). A message confirms that the test page was sent. If nothing prints within a minute or two, go to the troubleshooting section below.
Print a test page in Windows 10
- Select Start, then Settings.
- Select Devices, then Printers & scanners.
- Select your printer, then Manage.
- Select Printer properties.
- On the General tab, select Print Test Page.
The steps are almost the same as in Windows 11: the menu is called Devices instead of Bluetooth & devices, and there’s an extra Manage button (Microsoft Support).
Windows 10 reached the end of support on October 14, 2025. Your printer keeps working, but Microsoft no longer provides regular updates; it offers paid Extended Security Updates until October 12, 2027 and recommends moving to Windows 11 (Microsoft Support).
Another way in Windows 10: Devices and Printers
Windows 10 also has the older Devices and Printers window. Open Start > Settings > Devices and select Devices and Printers at the bottom of the page, then right-click your printer, choose Printer properties and select Print Test Page. Epson documents this route in its own Windows instructions (Epson Support).
Windows 7 and older versions
Windows 7 and Windows 8.1 are no longer supported by Microsoft (Microsoft), and many current printer drivers no longer install on them. If you still use one, the printer’s properties window, reached from Devices and Printers, has the same Print Test Page button. If a printer won’t install at all on an old version of Windows, print a test page from another device or from the printer’s own control panel to confirm the printer itself works.
When the Windows test page doesn’t print
If nothing comes out, work through these steps from Microsoft’s printer troubleshooting guide, in order (Microsoft Support):
- Run the printer troubleshooter. Microsoft’s Get Help app has an automated printer troubleshooter that checks and fixes the most common problems.
- Restart the printer. Turn it off, unplug it, wait 30 seconds, plug it back in and turn it on.
- Check the connection. For USB, make sure the cable is firmly connected at both ends. For Wi-Fi, turn on the printer’s wireless option, run its built-in wireless test, and make sure your PC is on the same network.
- Look for an error on the printer. Low paper, low ink, an open cover or a paper jam can put the printer in an error state.
- Remove and reinstall the printer. In Printers & scanners, select the printer and choose Remove, then select Add device and let Windows find it again.
- Install the latest driver from the printer manufacturer’s support site.
- Clear the print spooler. Open Services, stop Print Spooler, delete the files in
%WINDIR%\system32\spool\PRINTERS, then start Print Spooler again and set its startup type to Automatic. - Set the printer online if Windows shows it as offline.
If the test page still won’t print, print a status or configuration page from the printer’s own control panel. If that works, the printer is fine and the problem is on the Windows side. If even that fails, the problem is the printer itself; our HP, Epson, Canon and Brother pages show how to print each maker’s own test page.
When the test page prints but documents don’t
This is a different problem with its own fixes. Because the Windows test page already proves the driver and connection work, the cause is usually the print queue, a setting in one app, or the printer selected in that app. Our guide for a printer that prints a test page but nothing else goes through the causes from most to least likely.
Check print quality from Windows
Once the Windows test page prints, check the quality too. Print one of the sheets from the tool at the top of this page and keep these Windows print settings in mind:
- Scale. In Edge and Chrome, open More settings in the print dialog and make sure the scale isn’t shrinking the page. Choose Actual size or 100% where the option exists, and turn off Fit to page.
- Paper size and type. Match the paper in the tray, Letter or A4, and choose plain paper unless you’re printing on photo paper.
- Quality. Open Printer properties or Preferences from the print dialog and choose the standard quality, not draft.
Then measure the 1 in and 2 cm bars at the foot of the sheet. If they’re right, Windows printed at full size. If colors, lines or text look wrong, the printer problem diagnosis tool will help you work out why.