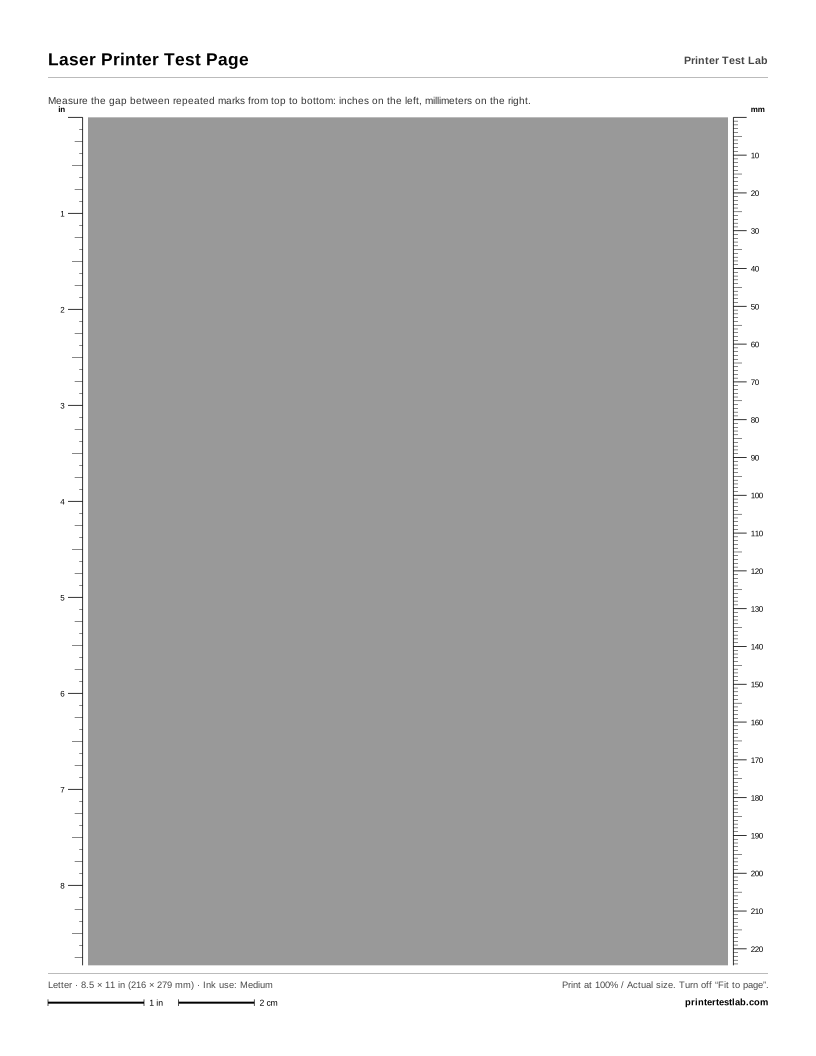
A laser printer test page has to look for different problems than an inkjet page does. Laser printers rarely clog, but their drum, rollers and fuser wear out, and each leaves its own kind of mark. The three sheets above are built to make those marks easy to see and to measure.
The three laser test sheets
- 40% gray field. An even, mid-gray area covering most of the page, with an inch ruler on the left edge and a millimeter ruler on the right. Spots, streaks and light bands stand out against even gray much more than against white paper or solid black.
- Laser text page. Dense paragraphs of black text in four sizes between three solid black bars across the page. It shows fading, smearing, ghost images and toner that rubs off.
- Color laser printer test page. Bands of cyan, magenta, yellow and black at 40%, each made with a single toner, plus solid patches and the same rulers. A defect that appears in only one band belongs to that color’s toner cartridge or drum.
How laser printers make a page, in short
A laser printer charges a light-sensitive drum, then “draws” the page onto it with a laser or LED. Toner sticks to the drawn areas, a transfer roller moves it onto the paper, and a hot fuser melts it in place. The drum and rollers turn several times for each page. That is why a flaw on any of them repeats: every time the damaged spot comes around, it leaves the same mark.
Measuring repeating marks




Repeating marks are the most useful laser defect, because the distance between them points to a specific part.
- Print the 40% gray page at 100% scale and find a mark that appears more than once.
- Using the ruler on the sheet, measure from the top of one mark to the top of the next identical mark. The right-hand ruler is in millimeters, which is how most manufacturers list the values.
- Look up that distance in the repeating defect or repetitive defect table for your exact model. You’ll find it in the printer’s user guide or on the maker’s support site. Brother, for example, publishes articles on dots and spots for its models.
The distances differ from one printer model to the next, so we don’t list any here; using another model’s table can point you to the wrong part. Before you replace anything, print a cleaning page if your printer has one, then print the test page again.
Other common laser defects
Vertical streaks or lines
Lines that run the full length of the page come from something that stays in the same position as the paper moves past: a scratch on the drum, a dirty laser window or charging wire, or toner leaking from the cartridge. A white streak means toner is blocked from reaching the paper; a dark streak means extra toner is getting through. Gently shaking the toner cartridge and cleaning any parts your manual lists are the first steps.
Gray background
If white areas of the text page look light gray, the drum is putting toner where it shouldn’t. Common causes are a worn drum or toner cartridge, third-party toner that doesn’t suit the printer, and high humidity. Paper that is damp or has been stored badly can make it worse.
Ghost images
A faint copy of the page, usually a short distance below the original, is called ghosting. It can come from the drum not clearing fully, from the fuser, or from a paper type setting that doesn’t match the paper. Set the correct paper type and try plain paper; if ghosting remains, compare the offset distance with the repeating defect table, because it often matches a roller.
Faded print and toner that rubs off
Prints that are light all over usually mean low toner, an economy or toner-save mode, or a density setting turned down. Toner that smudges when you run a finger across fresh text means it isn’t fused properly; check the paper type and paper condition first, then suspect the fuser.
Color laser printers
For a black and white laser printer test page, the first two sheets are all you need. On a color laser, run the color laser page first. A mark that appears in only one color band points to that color’s toner cartridge or drum. Colors that are slightly offset from each other, visible as colored fringes on the edges of shapes, are a registration problem; most color lasers have a calibration or color registration option in their menu that fixes it. If colors look wrong overall, run the printer’s calibration before changing any cartridges.
If you have an HP LaserJet, the HP printer test page explains HP’s built-in reports and print quality pages, which complement these sheets. For any printer, the printer problem diagnosis tool walks you from the symptom to the fix.